
 EN



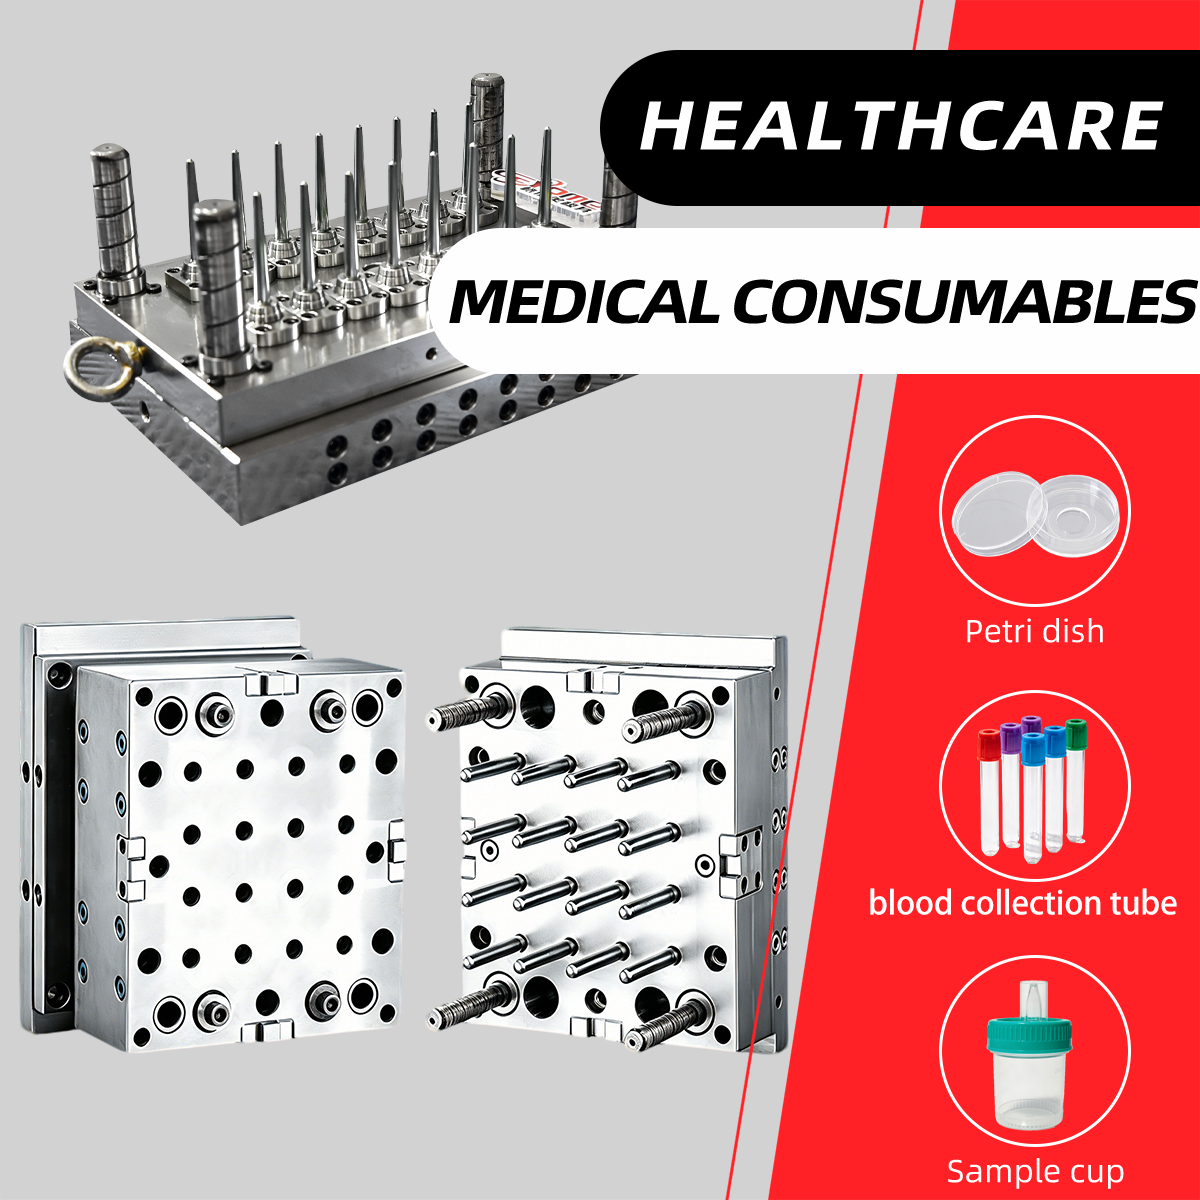
Managing a custom mold project requires careful coordination across multiple phases, from conceptual design through final delivery. Success depends on establishing clear communication, defining specifications upfront, and maintaining rigorous oversight at each milestone. Whether you're developing a custom mold for consumer products, automotive components, or industrial applications, the fundamental principles remain consistent. A well-managed custom mold project minimizes delays, reduces rework costs, and ensures the final tooling meets all functional and quality requirements.

The journey from initial concept to delivered custom mold spans design validation, material selection, prototype testing, and production setup. Each stage presents distinct challenges and decision points. Understanding how these phases interconnect and what deliverables are expected at each step empowers project managers, engineers, and procurement teams to maintain control, anticipate risks, and respond effectively to change requests. This comprehensive guide explores the critical phases and best practices for successfully managing custom mold projects.
Understanding the Custom Mold Project Lifecycle
Project Initiation and Requirements Definition
Every successful custom mold initiative begins with a clear definition of project scope and objectives. During initiation, cross-functional teams establish specifications for part geometry, material compatibility, production volume, cycle time targets, and dimensional tolerances. Documenting these requirements in a formal specification sheet or design brief prevents scope creep and ensures all stakeholders share a common understanding. A custom mold is only as effective as the requirements driving its design, so investing time upfront in thorough documentation pays dividends throughout the project lifecycle.
Budget allocation and timeline development follow close behind requirement definition. Project managers must account for design iteration cycles, manufacturing lead times, and contingency periods. Working with experienced custom mold suppliers helps establish realistic timelines and budget ranges based on complexity, material demands, and production scale. Early conversations about cost drivers, tooling steel selection, and cavity count influence both the timeline and financial investment required.
Design and Engineering Phase
The design phase transforms requirements into detailed engineering specifications that guide custom mold fabrication. Design engineers create 3D CAD models, specify gate locations, define cooling channels, and plan for demolding sequences. During this stage, designers collaborate with manufacturing engineers to ensure the custom mold design is not only functional but also economical and producible. Design for manufacturability (DFM) reviews catch potential issues before tooling construction begins, reducing expensive late-stage modifications.
Simulation tools increasingly support the design phase by predicting part quality, identifying cooling hot spots, and stress-testing the mold structure under production conditions. Finite element analysis and mold flow simulation reveal whether the proposed custom mold design will produce parts consistently and within specification. These predictive tools reduce the need for physical prototype iterations and accelerate the path to production readiness.
Manufacturing and Quality Control Stages
Tooling Fabrication and Assembly
Once the design is approved, the custom mold enters fabrication and assembly. Skilled toolmakers use CNC machining, electrical discharge machining (EDM), grinding, and polishing to create the cavity, core, and supporting components. Quality checkpoints occur throughout fabrication to verify dimensions, surface finish, and hardness specifications. A custom mold's precision directly impacts part quality and tool longevity, so dimensional verification and hardness testing are critical during this stage.
Assembly of the custom mold brings together all components—cavities, cores, slides, lifters, and backing plates—into a cohesive tool. Fit and function verification ensures all moving elements operate smoothly and without binding. Hydrostatic or thermal testing confirms cooling circuits deliver adequate temperature control. Pressure testing validates the integrity of coolant passages. These assembly-stage verifications prevent production surprises when the custom mold first operates on the injection molding machine.
First Article Inspection and Prototype Runs
Before full production, the custom mold undergoes first article inspection (FAI) where sample parts are molded and evaluated against all specified requirements. This prototype phase validates that dimensional accuracy, surface finish, gate location, and overall part function meet design intent. Mold designers and process engineers observe machine parameters, gate freeze times, cooling performance, and demolding behavior during trial runs.
Issues discovered during prototype production—such as excessive gate vestige, gate-induced warping, surface defects, or dimensional drift—are addressed through targeted mold corrections. Small cavity adjustments, cooling channel modifications, or gate redesign may be necessary. The custom mold is then refined and re-evaluated until parts consistently meet acceptance criteria. This iterative approach ensures the tool enters production ready to deliver acceptable parts run after run.
Project Delivery, Documentation, and Support
Final Handover and Production Setup
The delivery phase brings the custom mold to the production facility and establishes operating parameters for sustained manufacturing. Mold documentation—including cavity layouts, cooling diagrams, recommended resin types, processing windows, and maintenance schedules—is provided to the production team. Training sessions familiarize operators and maintenance staff with the custom mold's unique features, preventive care requirements, and troubleshooting protocols.
Production setup involves selecting injection molding machine capacity, establishing clamp force, shot weight, cycle time, and temperature profiles. The custom mold is installed, aligned, and dry-cycled to verify proper function before material is introduced. Machine parameters are optimized through incremental adjustments, and baseline data is collected to establish process stability. This structured handover minimizes start-up delays and establishes a solid foundation for ongoing production success.
Maintenance, Support, and Tool Life Management
Once the custom mold enters production, preventive maintenance becomes essential to sustained performance and extended tool life. Regular cleaning, core pin lubrication, cavity inspection, and thermal cycling help maintain dimensional stability and surface quality. Predictive maintenance strategies monitor mold temperature, cycle time trends, and part quality metrics to detect early signs of wear or degradation. A well-maintained custom mold can deliver hundreds of thousands of parts over its operational life.
Project managers should establish clear communication channels with the custom mold supplier for technical support, repair services, and future modifications. If part design changes occur or production volumes increase, the supplier can assess whether the existing custom mold can accommodate revisions or if supplementary tooling is needed. Maintaining this relationship ensures continuity and minimizes downtime if mold repair or rework becomes necessary during production.
FAQ
What are the key documents required to start a custom mold project successfully?
Essential documents include a detailed part drawing with all dimensional and surface finish specifications, a material selection guide identifying the desired plastic resin, production volume forecasts, and timeline constraints. A custom mold project also benefits from a design review checklist, cost target summary, and approved supplier list. These documents provide the foundation for accurate custom mold quotes, realistic timelines, and aligned expectations between all parties.
How long does a typical custom mold project take from design to delivery?
Timeline varies significantly based on custom mold complexity, size, cavity count, and supplier capacity. Simple single-cavity molds may be delivered in 4 to 8 weeks, while complex multi-cavity custom mold tools with intricate cooling or sliding features can require 12 to 16 weeks or longer. Expedited programs with additional cost are possible, but quality should never be sacrificed for speed. Early coordination with the custom mold manufacturer and realistic scheduling prevents timeline compression and reduces rework risk.
What quality standards should a custom mold meet before entering production?
A custom mold ready for production must pass dimensional inspection with all cavity and core features within tolerance, undergo thermal performance testing to verify cooling effectiveness, and demonstrate consistent part production during trial runs. Surface finish and hardness must meet design specifications, and all moving components must operate smoothly without binding. First article inspection reports confirming that produced parts meet all requirements provide final validation that the custom mold is production-ready and capable of sustained quality performance.